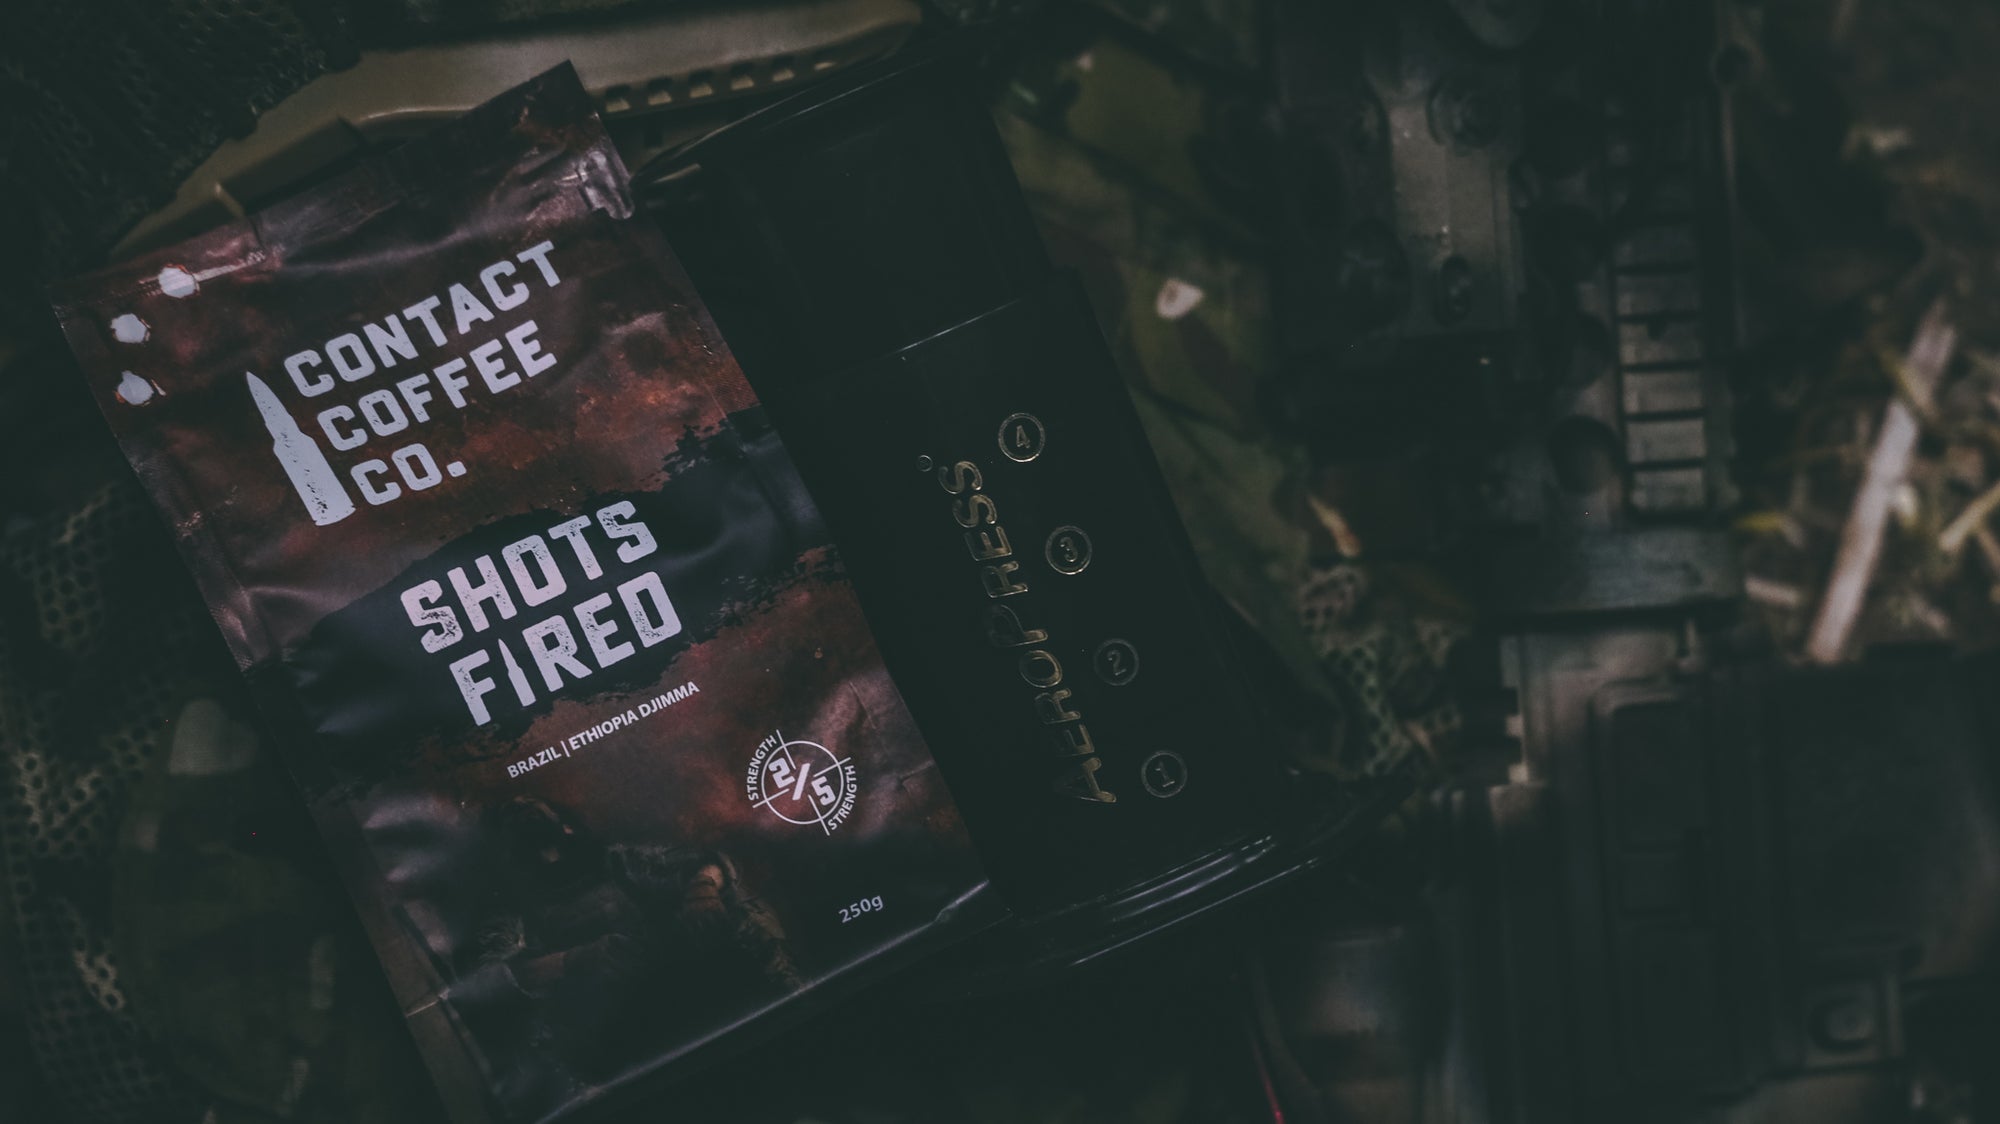
How to use an Aeropress
The inverted aeropress method
The aeropress is arguably the best travel coffee maker on the market. It is light, compact, easy to use, robust, and most importantly, makes a really good coffee.
Like most things, every one has their own opinion on the best way to use an aeropress. That's fine, every ones entitled to their own opinion, we just think ours is better suited, let us explain...
Boil our water
Firstly we need to boil some water, we use the Jet Boil Flash. With boiling speeds of just 100 seconds, there really is no reason to get your flint and steel out.

Prepare our aeropress
'Concurrent activity' (that old chestnut), let's prep our aeropress whilst our water is boiling. We suggest using the 'inverted method', this allows us to immerse the coffee for longer to increase the extraction of the coffee getting a more full bodied taste. Simply turn your aeropress upside down, with the plunger fully extended but not totally out of the main body.

Grind coffee beans
The key ingredient is next... coffee! Time and kit dependant, we would always recommend grinding your own beans just before making your coffee. We understand not every one has the patience, kit, time, or even the motivation to do this so pre ground is fine (excuse the pun).
A small compact hand grinder such as the Rhinowares Grinder is a great asset to your coffee kit. We want to be making our coffee with no less than 14g of coffee, general rule of thumb is either a hand grinder full of beans or two tables spoons if you have pre-ground coffee.

Pour over
Once we have our coffee prepared, we can bang it into our aeropress ready for our water which will now be boiled. We can of course carry a flask of hot water prepared at home prior to going out if we are on the move for just a day.
Ideally we don't want to pour our boiling water directly over our coffee immediately after boiling, try to leave this to stand and cool slightly for around 2 minutes will suffice, to reduce getting a bitter tasting coffee. Ensuring you have your aeropress on a stable surface, pour your water slowly over the coffee grounds evenly.

Leave coffee to stand
Along the side of the aeropress you will see numbers 1-4 along the shaft of the main body. This indicates how many 'cups' you can make, baring in mind these are short cups, a full aeropress will fill a 250ml mug. Once filled leave to stand for around 3-5 minutes, take in the aroma!

Dampen filter
Whilst our coffee is brewing, use some of the remaining water to dampen our aeropress paper filter. This is to reduce the slight straw taste we may get from pushing our coffee through a dry filter. Once damp place the filter and cap onto the aeropress (still sat inverted) and twist slightly clockwise to secure.

Press our coffee
Now the push! We can talk equations all day about pressure x speed, but let's be honest, the margins are minimal. Just remember, slow is smooth, smooth is fast. We recommend using the palm of your hand or the underside of your forearm to apply pressure evenly and downwards on the press in a slow and controlled manner, whilst using your other hand to stabilise both the mug and the base of the aeropress, we don't want to waste all of that time now do we? Once the press starts to make a squelch noise towards the end of the plunge this is our marker to stop.

Avoid coffee spills
Can I drink my coffee yet? Not quite. Our top tip to reduce spillage and mess is to keep hold of the base and pull back slightly on the plunger to create an air suction. This will stop any drips from the bottom of the press when removing it, which then can be stowed away back into your kit to empty and clean back at home or camp.

Drink coffee
Boom! And thats it, enjoy your hand made coffee. There is nothing quite like going through the process of making a coffee outdoors and enjoying it whilst taking in your surroundings. Enjoy!


As I have never brewed fresh coffee, it would be great if you posted a short video of the process.
Yeah as far as I’m concerned, inverted is the only way to go! The only difference is I bought a micro mesh stainless steel filter instead of using the paper ones! Works perfectly every time!
This is my go to method for brewing coffee. Absolutely spot on every time. I generally use less water for the brew (about a third of the cylinder), leave it for three minutes, then press before topping up with hot water.
Cracking coffee maker for cracking coffee!
Guys, I’ve just tried this method following your guide and the coffee flavour is insane. I’ve used After Hours and the inverted method seems to allow the coffee to brew so much better. Thanks for this (and all the coffee/gear).